
Evaluating Adhesive & Waterproof Performance: A Hands-On Guide for Fast Sample Screening
When developing or sourcing new adhesive products, validating sample performance is a critical step. While full lab certification is ideal, you often need a quick, reliable way to assess sample quality as soon as it arrives—even without specialized testing equipment.
Below is a systematic, hands-on framework to evaluate general adhesive samples, with a dedicated focus on waterproof adhesives and environmental durability.
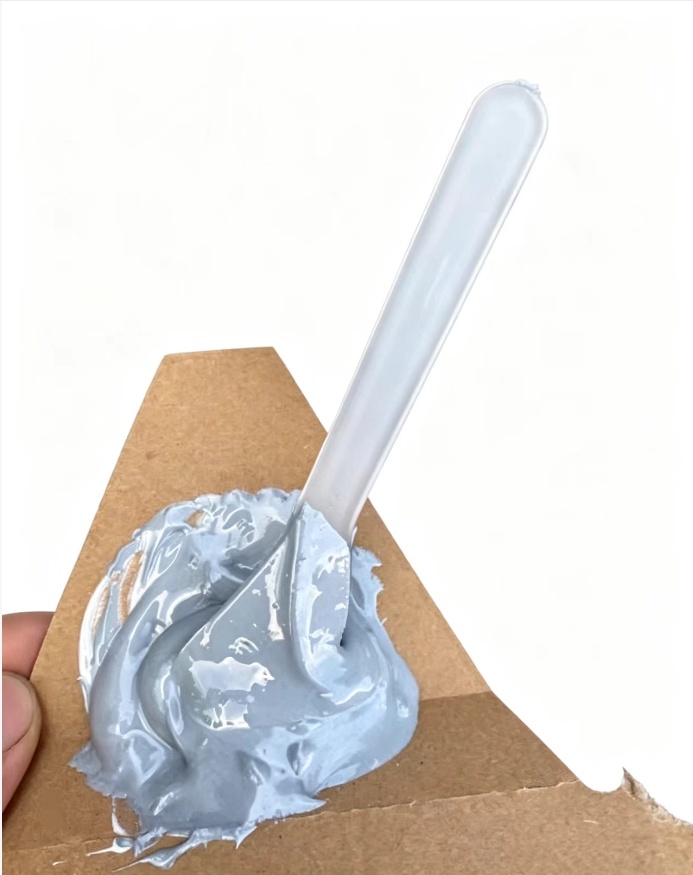
Phase 1: Unboxing & Physical Appearance Check
Before applying a single drop of glue, your first evaluation begins at the container.
Package & Label Verification: Inspect the packaging for swelling, leakage, or compromised seals. Cross-check batch numbers, production dates, shelf life, and TDS/COA (Technical Data Sheet / Certificate of Analysis) specifications against your order.
Visual & Consistency Inspection: Open the container and inspect the uncured adhesive:
Check for uniform color, unusual odor, clumping, particle contamination, or severe phase separation.
Test flowability: Dip a wooden stick or putty knife into the glue and lift it. Observe the viscosity, stringing effect, and flow rate.
Tip: Compare this directly against a known good batch. If it cannot be stirred back into a smooth, homogenous state, or if the viscosity varies dramatically from previous lots, mark the sample as non-compliant immediately.
Phase 2: Monitoring the Curing Process
The behavior of the adhesive during cure reveals vital clues about its chemical formulation and stability.
Tack-Free Time (Skins-Over Time): Lightly touch the surface with a finger at regular intervals. A surface that dries too quickly may indicate abnormal solid content or solvent loss; a surface that remains tacky too long suggests low reactivity or expired shelf life.
Post-Cure Physical State: Once fully cured, examine the bond line:
Check for shrinkage cracks, voids, or unwanted oil exuding (bleeding) from the material.
Watch for color anomalies: Yellowing, whitening, or cloudiness often flags improper mixing ratios, ambient moisture interference, or curing defects.
Phase 3: Field Testing Mechanical Performance (No Equipment Needed)
While standard ISO/ASTM tests require universal testing machines (UTM) for tensile shear or 90°/180° peel testing, you can effectively simulate these performance metrics on a shop floor.
Substrate Preparation: Cut two small coupons (approx. 2 x 5 cm) of your actual target substrate (metal, plastic, wood, etc.).
Surface Pre-Treatment: Clean, sand, or prime the surface exactly as you would in real production. Never skip this step, as surface energy directly impacts adhesion.
Bonding & Curing: Apply a uniform layer of adhesive, join the coupons with recommended overlap, and apply light clamping pressure. Allow it to cure fully according to standard specs—do not force or accelerate the process.
Manual Destruction & Failure Mode Analysis:
Pry/Tear Test: Use pliers or manual force to aggressively pry the bonded specimen apart. Compare the effort required against a control sample.
Identify the Failure Mode:
Cohesive Failure (Good): The adhesive itself breaks apart while remaining firmly stuck to both substrate surfaces. This proves the interfacial bond is stronger than the adhesive material.
Adhesive Failure (Poor): The glue peels away cleanly from one or both substrates. This indicates insufficient surface wetting or chemical incompatibility.
Phase 4: Water-Resistance & Environmental Aging Tests
For waterproof adhesives, standard dry adhesion is not enough. The primary benchmark is whether the bond maintains its integrity when exposed to moisture and harsh environmental cycling.
1. Water Immersion Test (Baseline Waterproofing)
Submerge the fully cured specimen in room-temperature water for at least 24 hours (48–72 hours is recommended for high-performance applications).Observation: Inspect the bond line for whitening, blistering, swelling, softening, or spontaneous delamination.Wet Mechanical Strength Check: Remove the sample, wipe it dry, and immediately perform a manual pry test. If the bond held tightly before immersion but snaps off effortlessly after soaking, the waterproof formulation fails.
2. Harsh Environment & Durability Testing
If the final product will be exposed to outdoor elements or extreme conditions, simulate these stressors:Thermal Cycling (Cold & Heat): Cycle the specimen repeatedly between -20℃ and 70℃ (e.g., using a deep freezer and a standard oven). Check if thermal expansion differences cause bond line cracking or debonding.UV Exposure: For outdoor applications, place specimens under direct, prolonged sunlight or UV lamps to monitor yellowing, embrittlement, and surface chalking.Damp-Heat Aging (Tropical/High Humidity Simulation): Place the cured sample in a high-humidity environment (40℃, 95%RH) for 7 days. This is one of the most demanding tests for hydrolytic resistance in polyurethane or silicone formulations.
Best Practices for Field Testing
Always Keep a Control Sample: Always test your new sample side-by-side with a known, qualified batch from a previous shipment.
Test in Triplicate: Perform every test on at least 3 identical specimens to eliminate single-point anomalies or preparation errors.
Record Findings: Document curing times, failure modes, and post-immersion strength changes for future supplier communication.
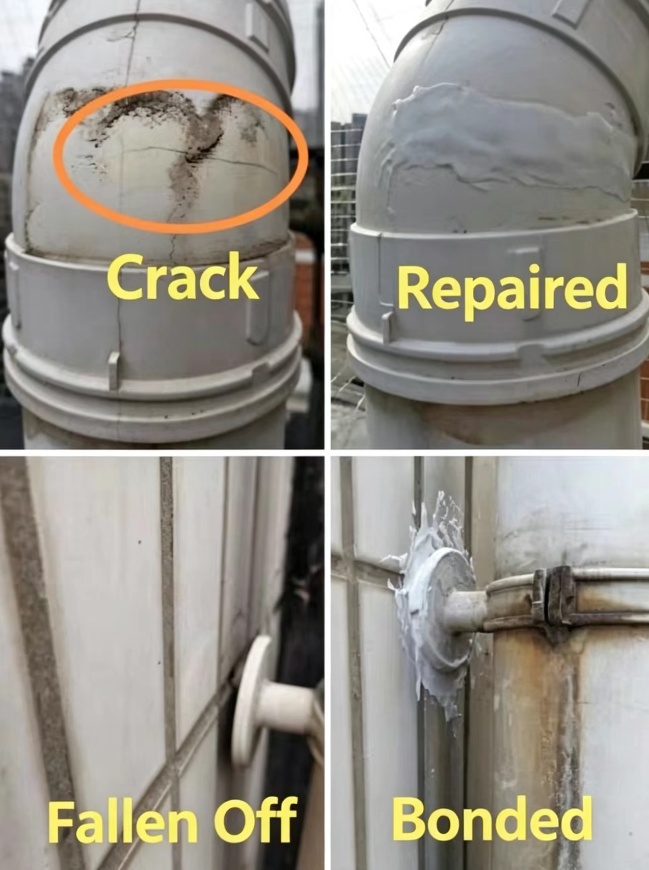
Summary
Comprehensive lab equipment provides precise numerical data, but simple, structured empirical testing allows you to make fast, accurate decisions on sample viability. By tailoring these observational and physical checks to your application's actual operating environment, you can confidently screen suppliers before committing to full-scale testing.
How to Test Adhesive Samples
A practical, step-by-step guide to testing adhesive bonding and waterproofing...
Read More
Why Waterproof Adhesives Fail in
Explore common failure modes in field adhesives and how our...
Read More